This is the first in a short series of articles on dealing with chromatic aberration (CA) in DSLR astroimages. The cause of CA will be discussed here, along with a general overview of how to fix it. Other posts in the series will describe image processing techniques in detail.
Chromatic aberration has been a bane of astronomers ever since Galileo pointed his homemade
refracting telescope toward the heavens over 400 years ago. Put simply, CA is caused by a phenomenon called "dispersion," which is the effect of different wavelengths (colors) of light traveling at different speeds through a lens. Each wavelength comes to focus at a different point. This blurs images and produces red, blue and purple halos around bright stars in astroimages.
Most
achromatic refractors are intended for visual use, and typically show little or no CA to the naked eye. In long exposure astroimages, however, the effect can be quite severe. So, unless you have the money to shell out for a more expensive telescope that corrects for this problem at the optical level, you will have to mitigate the effects of CA in post-processing.
Note that I wrote "mitigate." There is really no way to completely remove halos without destroying parts of the image.
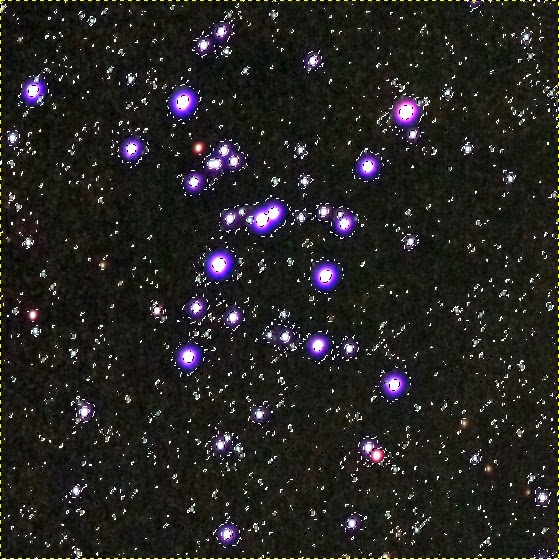
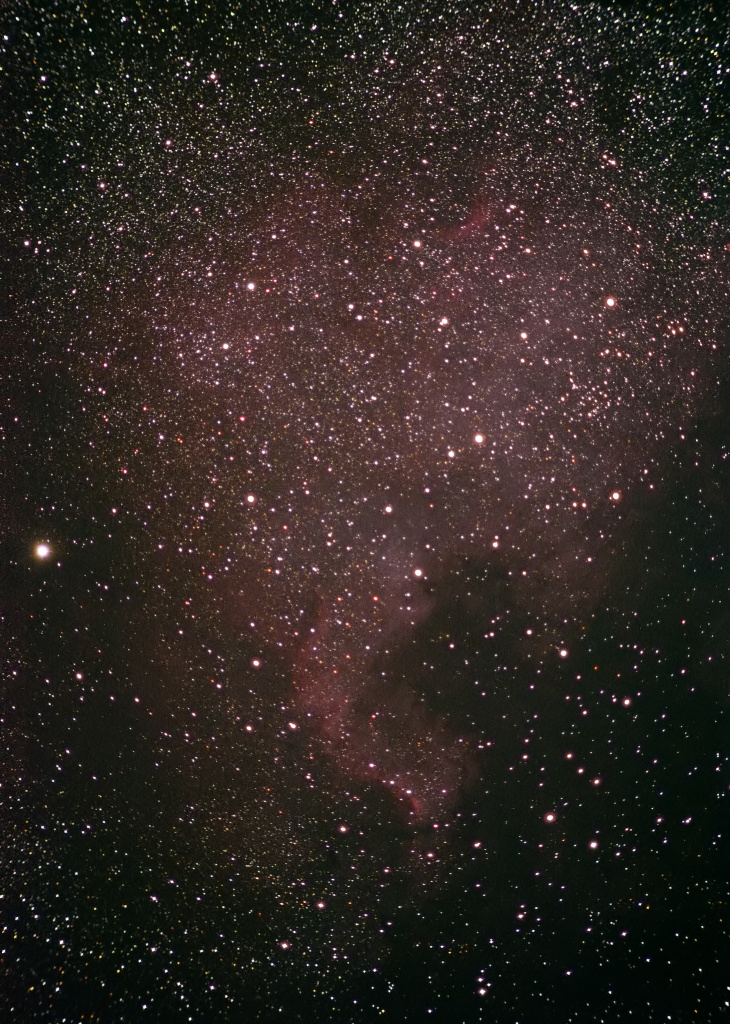
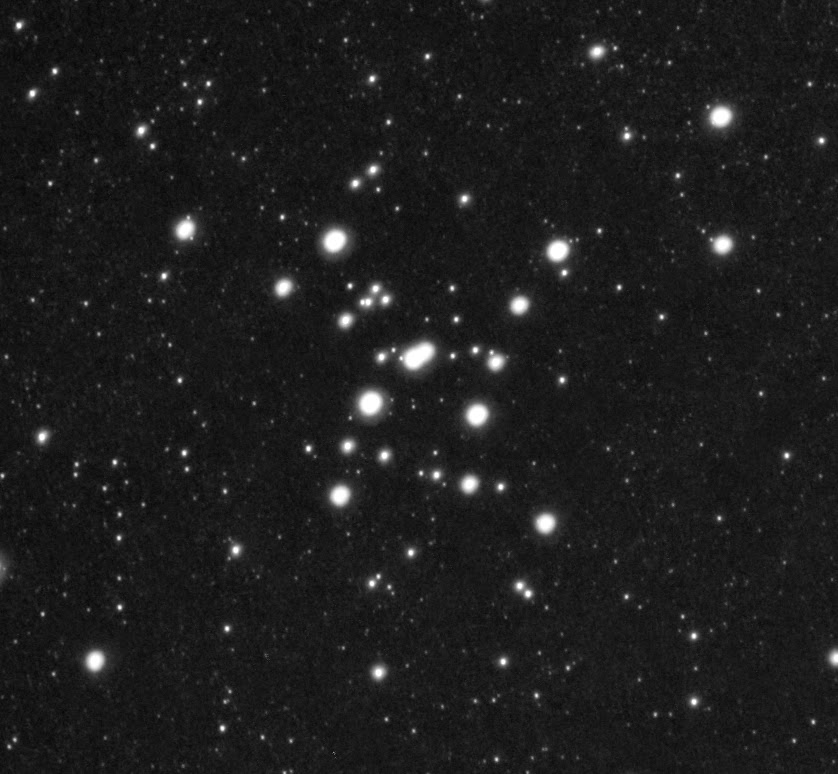
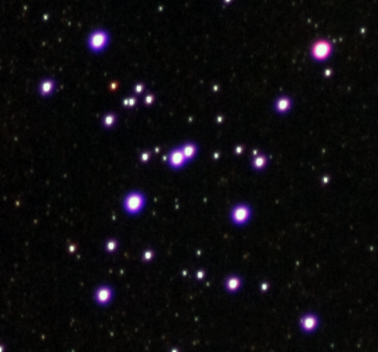
To further illustrate the problem, examine the following set of images taken with my Canon EOS Rebel T3 on the Orion ShortTube 80. Focus was achieved using a
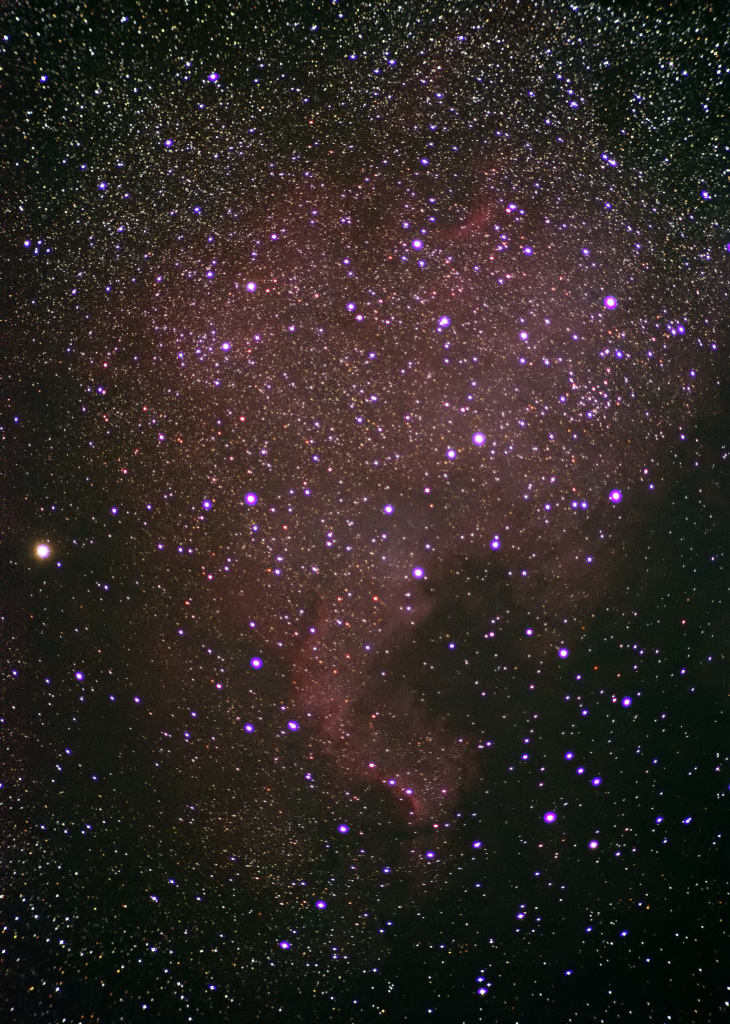
Bahtinov mask. The first is a color image of the central region of
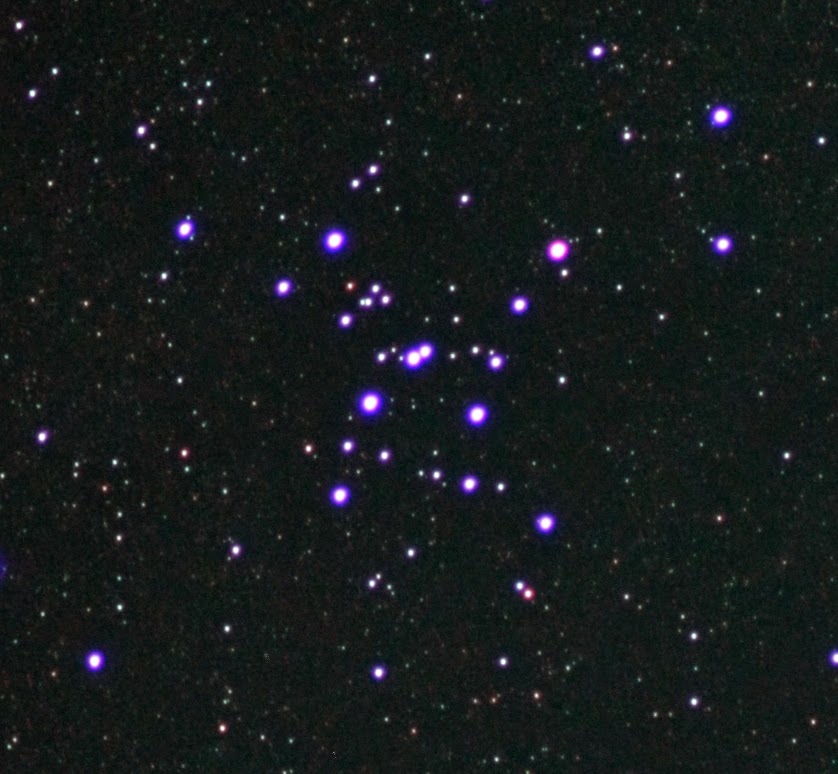
Messier 7. The images that follow are the red, green and blue
color channels for that image.
 |
| Messier 7, full-color. |
 |
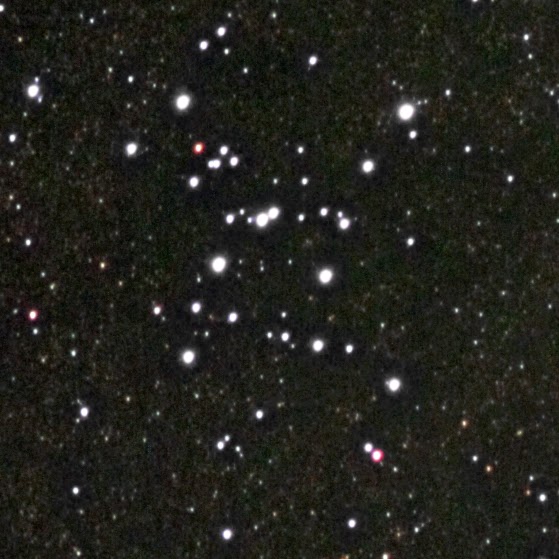
| Red Channel |
 |
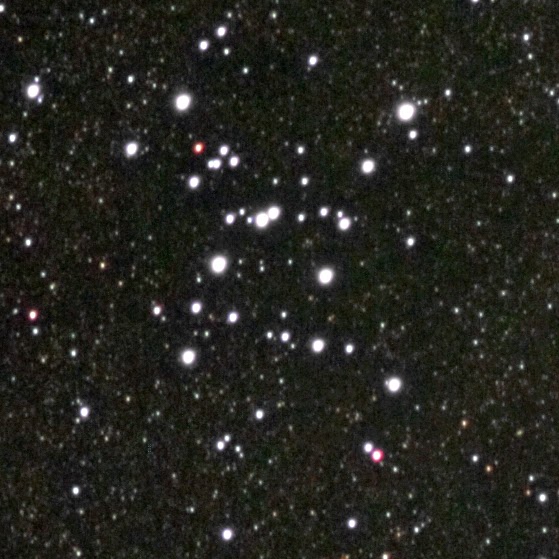
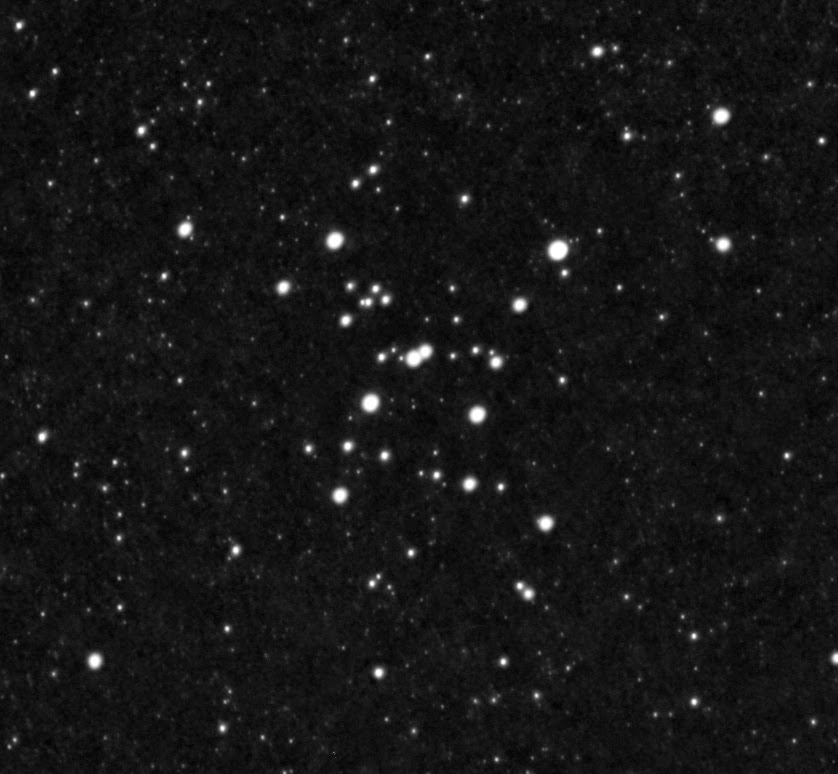
| Green Channel |
 |
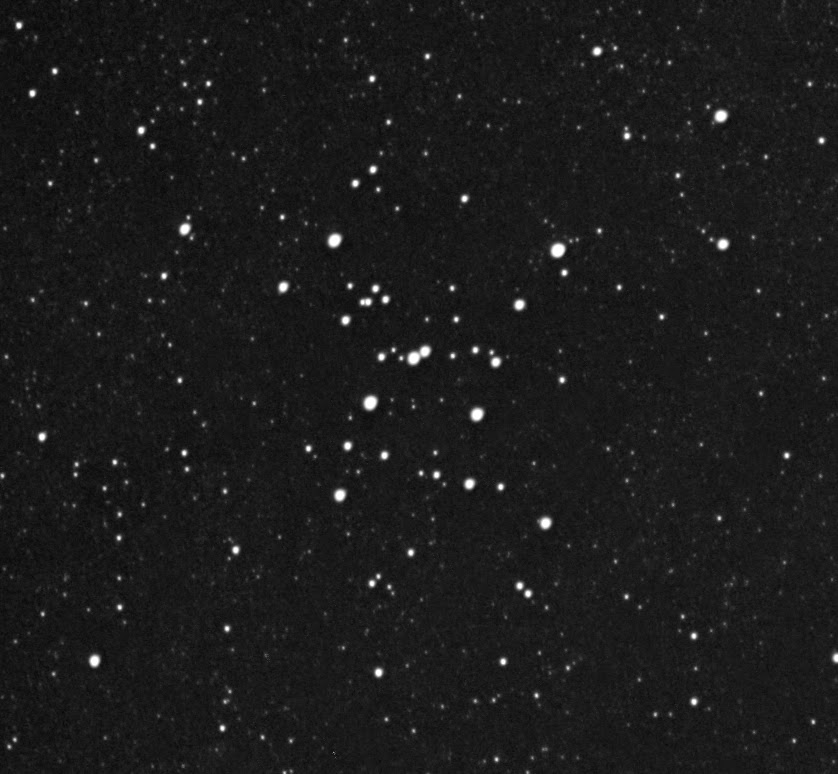
| Blue Channel. |
Note how the stars look fuzzy and bloated in the red and blue channel images, but sharp and in focus in the green channel image. The center of focus in an achromatic refractor is in the green part of the spectrum, so both red and blue are slightly out of focus when the image from the camera is in focus. Since the focus of each of the three colors is significantly different, the stars do not line up perfectly when the channels are combined. This results in the halos.
But the halos are not the only problem that results from CA. Another problem is loss of image data caused by bloated stars overlapping or overwhelming other dimmer stars or features. In addition, the color image as a whole appears slightly out of focus, which further obscures detail.
So, what do we do to fix it?
The short answer is: nothing. This is the result of the physics of optics, and you can't go against nature.
The long answer is that there are some things that can help reduce the effect or at least mask it.
Shooting with filters helps. Typically, I use a light pollution filter to remove the effects of the mercury and sodium vapor lamps from the nearby towns. This reduces CA
slightly by filtering out some of the blue and violet light, but not enough to be considered a solution to the problem, in my opinion.
As I mentioned in the post on the
July 2014 Moon/Saturn conjunction, a #15 yellow filter helps to filter out some of the violet and red color. The two images below demonstrate the effect of the yellow filter. Each is a magnified view of the same star in Messier 7, color-corrected in GIMP. The first was taken with a regular light pollution filter, and the second with a yellow filter. Note that the halo in the first picture faintly extends to the edges of the image, but does not in the second.
(The brightness of your monitor may need to be adjusted to see all of the details.)
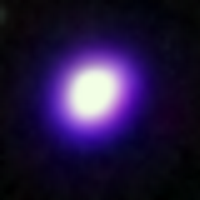 |
| Star with Light Pollution Filter |
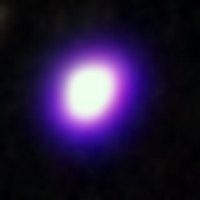 |
| Star with #15 Yellow Filter |
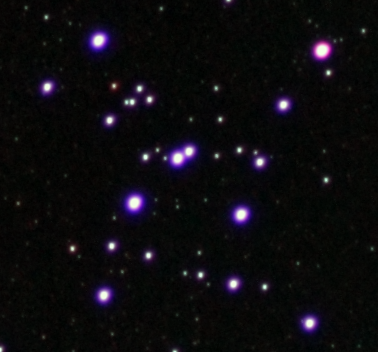
Here are comparison images of Messier 7. The image made with the yellow filter yielded a little more detail as it did not filter out as many of the fainter stars.
 |
| Messier 7 with Light Pollution Filter |
 |
| Messier 7 with #15 Yellow Filter |
The filter helped, but it did not eliminate the halos. The
next article describes a technique for reducing the color fringing using Photoshop or GIMP.
 or by pressing Shift+O.
 ) and select each of the remaining faint areas. Make sure that "Add to current selection" is selected in the Tools tab after switching to the Fuzzy Select Tool.