Thursday, October 23, 2014

October 23, 2014 Solar Eclipse

A few of us from the Huntsville Amateur Astronomy Society set up scopes on the roof of the Sam Houston State University parking garage. There were over 200 in attendance. While the emphasis was visual observation, I managed to snap a few shots.

In addition to the eclipse, giant sunspot group AR2192 was a big hit with the crowd.

These first two were taken at prime focus with my Canon EOS Rebel T3 through the ST80 with the solar filter:


This image was taken afocally through an 8-inch Meade Schmidt-Cassegrain with my Samsung Galaxy S5 Active:

This image was processed a bit to remove smudges on the eyepiece lens.


Wednesday, October 15, 2014

Double Cluster, Owl Cluster

Viewing conditions were almost perfect here in my part of East Texas the night of October 14, 2014. Despite the fact that I had to go to work the next day, I couldn't let a night like this go by without doing something astronomy-related, so I headed out to the observatory to dust off the Epsilon 200 and take some pictures.

I had some guiding issues with the mount (which isn't unusual), but overall the system performed well. Here are the images from the session:

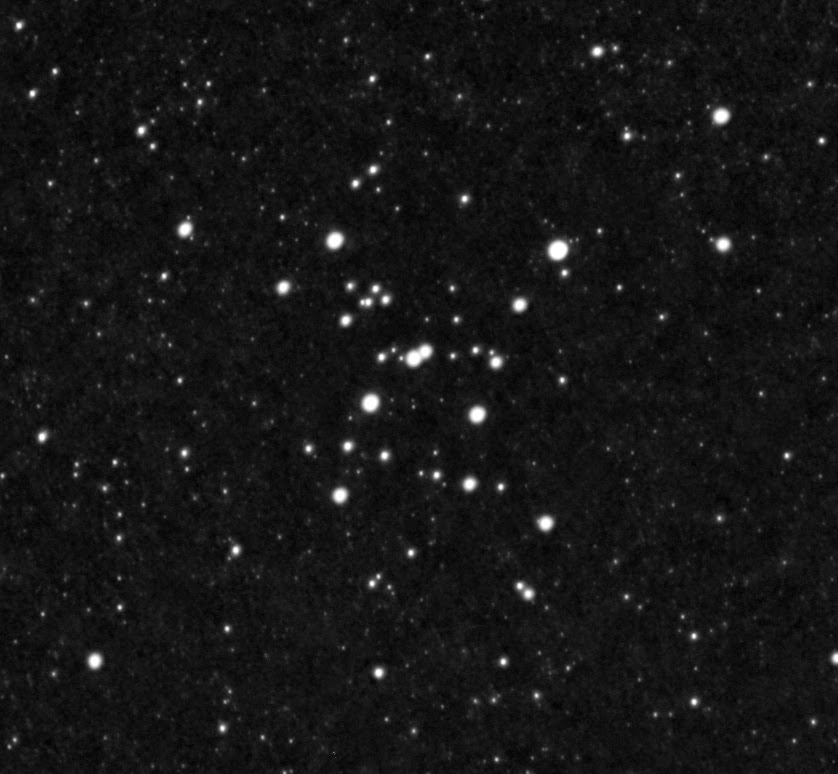
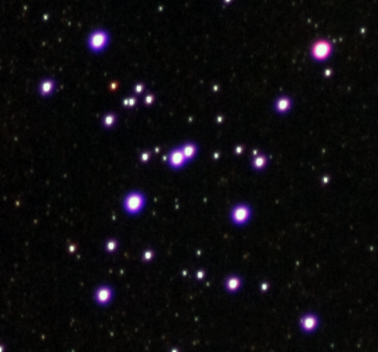
Double Cluster in Perseus (NGC 884 on the left, NGC 869 on the right); Epsilon-200 on NJP mount; 23x60 at ISO-3200
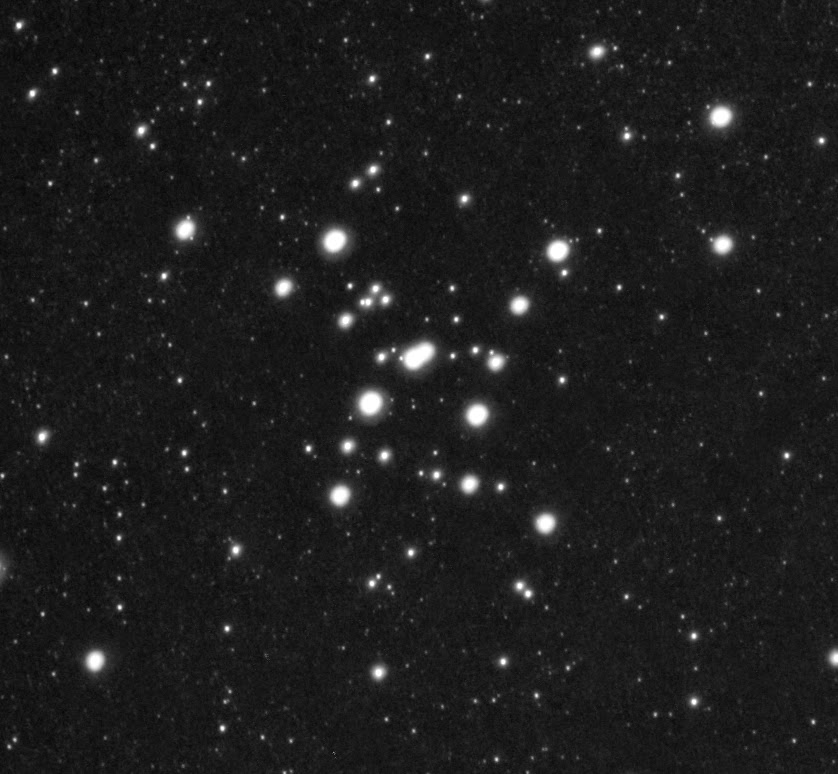
Close-up of the Double Cluster centers

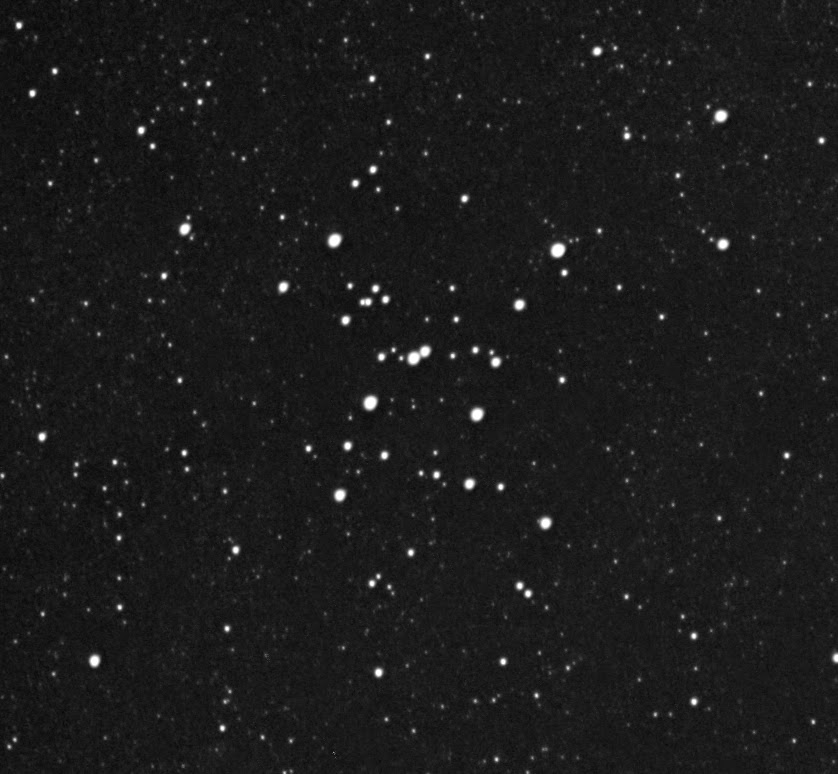
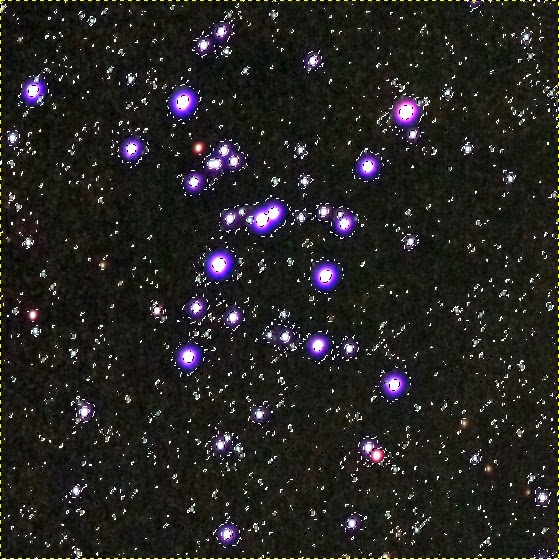
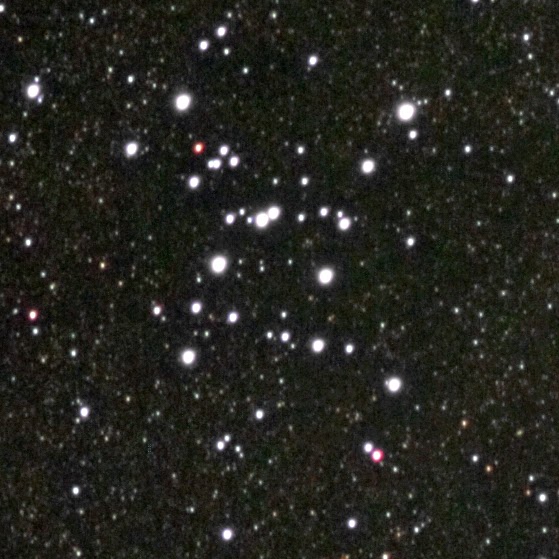
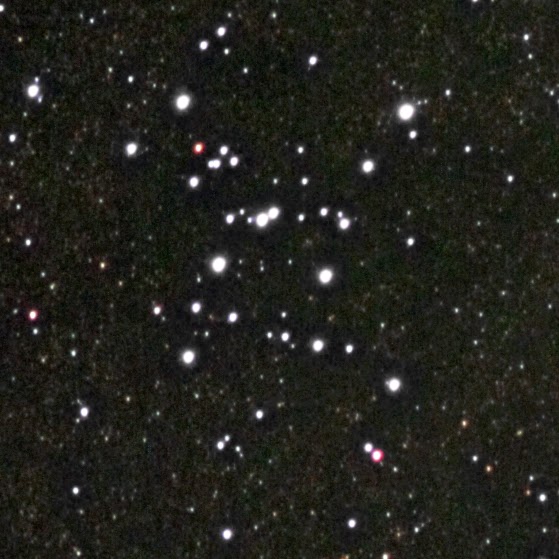
Owl Cluster (NGC 457) in Cassiopeia; Epsilon-200 on NJP mount; 10x60 at ISO-3200

Did you notice the cloudiness around the bright stars? It's especially noticeable in the close-up of the Double Cluster. I'm not certain, but I think that may be due in part to a dirty mirror. The primary mirror on the Epsilon is in desperate need of a bath. I've never cleaned a primary mirror before, and frankly I'm a little anxious about it since it is, for all intents and purposes, irreplaceable.

Friday, August 15, 2014

Butterfly Nebula

This is the Butterfly Nebula (IC 1318) in Cygnus, taken in late July 2014. I used a #15 yellow filter and the processing technique described here. The bright star at the bottom center is Sadr. Open cluster NGC 6910 is located on the lower right.

Butterfly Nebula (IC 1318) in Cygnus; ST80 on Vixen SP; #15 yellow filter; Canon EOS Rebel T3; 25x90 lights @ ISO-3200; 16 darks; 16 flats

2014 Perseids

The weather here was great for viewing the Perseids this year, but the waning Moon was very bright. I didn't stay up to watch the show. Instead, I set up the cameras and let them do all of the work. This year's haul wasn't spectacular, but I did catch a few.

I set up the Canon T3 (1100D) on the telescope mount. It caught at least three meteors, but they are very faint because the Moon is just outside of the frame. The best images came from my new fisheye lens on the Canons XS (1000D):

The meteor is a very small streak located on the right, above and to the left of the lens flare near the constellation Lyra.

This meteor is a fireball located to the right and slightly below the center.

This fairly bright meteor crosses the Milky Way through Cygnus.

The following are time-lapse movies that I compiled with the individual frames from both cameras.


And, finally, a star trail image from the fisheye lens. One of the reasons that I like star trails is that they help bring out the natural colors of the stars.


Tuesday, July 15, 2014

Fixing Halos using Desaturation

This is the third and final article in a short series on removing the effects of chromatic aberration (CA) from DSLR astroimages. This article describes a process for desaturating (i.e., "whitening") the halos around stars using the Select by Color Tool in GIMP. In addition, a technique for "shrinking" bloated stars will be discussed.

The Select by Color Tool in GIMP selects all pixels in the image that match a selected color within a given threshold. Since there are no naturally occurring astronomical objects that exclusively produce the hues present in CA halos, this tool is handy for selecting those colors for processing.

Open the image in GIMP and zoom in to one of the brighter stars, as in the image below.
  1. Select the "Select by Color Tool" by clicking the icon  or by pressing Shift+O.
  2. Click the "Add to current selection" icon in the Tools tab (see the illustration below). It is important that this feature remain turned on during the selection process.
  3. Set the threshold. The threshold sets the sensitivity for selecting the colors. The higher the threshold the more colors will be selected. In other words, if the threshold is low and a particular hue of purple is clicked on in the image, then only pixels that are very close to that hue will be selected. A larger threshold will cause a wider range of brightness and hues to be selected. The exact method for selecting colors is determined by the "Select by" setting in the Tools tab. This is set to "Composite" by default.
  4. Click on the the pink, blue and purple halo colors around one of the stars. Start with the brighter parts of a halo and work to the fainter portions. You may need to select parts of the halos around other stars as well to get full coverage.

Zoom out occasionally to check the progress of your work. If too large of an area is selected, then press Ctrl+Z to undo the last selection(s). Adjust the threshold as needed to restrict the selected areas. Some of the fainter blue and purple colors may closely match the colors of parts of reflection nebulae, so the threshold may need to be lowered as you work your way into the fainter parts of the halos.

If you find that you cannot proceed selecting the fainter parts of the halos without selecting regions that you do not wish to modify, switch to the Fuzzy Select Tool () and select each of the remaining faint areas. Make sure that "Add to current selection" is selected in the Tools tab after switching to the Fuzzy Select Tool.

When you are finished selecting the halo colors, your result should look something like the following:

Halos selected with Select by Color Tool.
Click on Selection -> Feather... from the menu. Enter a feather value. I usually use 5px. Click OK.


In GIMP, feathering a selection graduates the transition between effects applied to the selected area and the surrounding image. This prevents harsh transitions that look unnatural.

Now, the final step! Select Colors -> Desaturate... from the menu, and select "Luminosity" from the radio button list:


Click OK, and then press Shift+Ctrl+A to remove the selection. Here is the final result:

Desaturated halos!
The bloated stars may be reduced a bit using a value propagation filter. Immediately after applying the desaturation (while the selection is still active), select Filters -> Distorts -> Value Propagate... Select "More black (smaller value)" from the radio button list. The filter will shrink the bright portions of the selected area. The filter may be repeated by pressing Ctrl+F. Use this feature sparingly, though, as it distorts the image. I do not recommend using it on images of stars surrounded by nebulosity.

A value propagate filter applied to reduce the size of the stars.
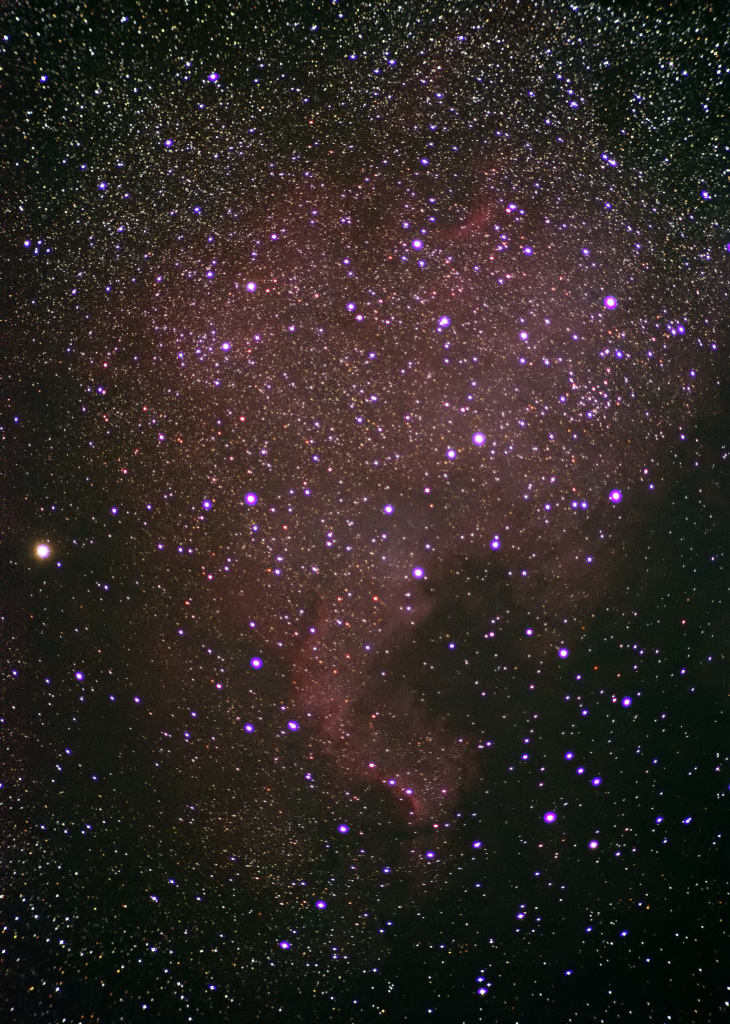
Applying the desaturation looks unnatural when the surrounding area is glowing red with Hydrogen-Alpha emissions. For example, examine this image from one of my posts on the North America Nebula:

North America Nebula (NGC 7000) with purple fringes around the stars.
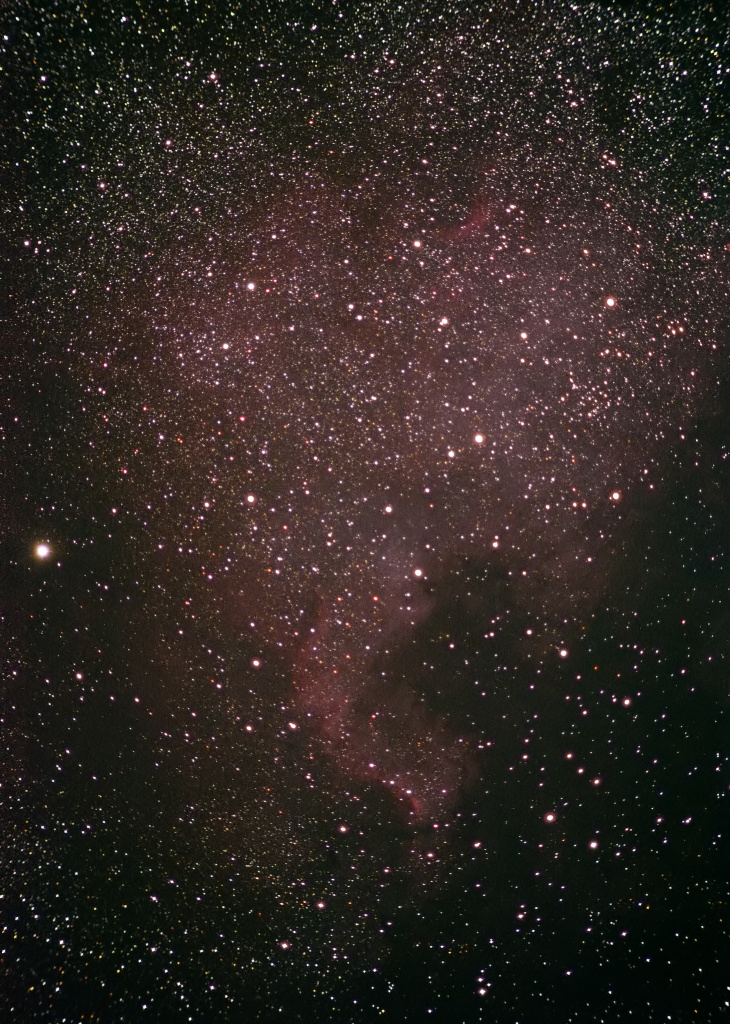
I found it difficult to remove the halos without creating unnaturally bleached "holes" in the nebula. I compromised by adjusting the hue of the halos to make them match the surrounding nebula using Colors -> Colorize... in GIMP, as discussed in this post. Here is the final version:

Colorized halos. The image could be improved by painstakingly manipulating the halo around each star to exactly match the color of the surrounding background nebulosity.

But who has time for that?
I hope these articles provided some useful information on dealing with chromatic aberration in achromat astroimages. If you have any questions, please feel free to post them in the comments section below.

Fixing Halos using a Color Layer

This is the second in a short series of articles on removing the effects of chromatic aberration (CA) from DSLR astroimages. This article describes a process for desaturating (i.e., "whitening") the halos around stars using a color layer in Photoshop or GIMP. Removal of CA from lunar images will also be discussed.

I came across a tutorial on YouTube for removing CA from images using Photoshop. This technique works well for eliminating or reducing purple fringes.  Here is the video:


Nicole points out that the effect can be controlled by adding an image mask. In the case of deep sky astroimages, a mask would be used for applying the layer to individual stars.

This technique works well in Photoshop unless the halos are very bright. I have only had limited success with it in GIMP. This may be due to GIMP's color-depth limitations, or perhaps Photoshop uses a better algorithm. This article will demonstrate the process in GIMP, however, for those who do not have Photoshop.

Here is a partially processed image of the central region of Messier 7, taken with my Canon EOS Rebel T3 (1100D) on the Orion ShortTube 80 achromatic refractor.  The image is a stack of eight 60-second exposures at ISO-800.

This image was color-balanced by adjusting the levels in Paint.NET.
Duplicate the layer (Shift+Ctrl+D) and apply a Gaussian blur (Filters -> Blur -> Gaussian Blur...). Set the radius as you see fit. I used 30 pixels since the halos in this image are fairly large.


The second layer should look something like the following:


Next, set the layer mode to "Color" from the drop-down list in the Layers tab. The halos will be desaturated, but so may the rest of the image. In addition, faint blue halos may still exist around the brighter stars.


The layer mask will confine the effect to the stars. To create a layer mask, right-click on the layer in Layers tab and select "Add Layer Mask..." from the context menu:


The Add Layer Mask dialog will be displayed. Select "Black (full transparency)" from the radio button list and then click Add.


Layer masks are used to limit the amount of a particular layer that is shown or applied. Black areas on the mask cause the underlying layer to show through the current layer. White areas show the current layer. In this case, white areas will show the blurred color layer.

Select the layer mask on the top layer by clicking the black square next to the thumbnail image. There are several ways to edit the layer, but probably the easiest is to select a paint brush and set the foreground color to white. I prefer to use a brush with 100% hardness. The image below demonstrates the effect of the layer and mask. The circled area is the area painted white in the mask. Note how the star lacks the pink ring and that the purple halo is less intense.


This image shows the result of the finished mask:


The halos are still a little too purple for my taste. This can be easily fixed by decreasing the saturation of the layer image. Select the image thumbnail on the top layer and do one of the following:
  • Select Colors -> Desaturate... and then select either Lightness, Luminosity or Average from the dialog. I usually select Luminosity when applying other CA mitigation techniques, but for this method it probably does not matter.
  • Select Colors -> Hue-Saturation... and move the Saturation slider in the dialog all the way to the left.
The result may look something like this:


Granted, this doesn't rival an image obtained by an apochromatic refractor or some kind of reflector telescope, but the result looks a little more natural that it did before processing.

The color layer method works well for lunar images, too. Examine this close-up of a slightly over-exposed image of the Moon. Note the purple fringes around the crater rims and along the lunar limb: 

Moon, April 1, 2012 with purple fringe
And here is the same image with the color layer applied with a 15-pixel Gaussian blur:

The purple fringe has been desaturated!
Bonus image! Here is the Messier 7 image processed in Photoshop using the color layer method. The subs were taken on a bright, moonlit night over the light dome of a nearby town. Not bad for a little achromat refractor, in my opinion!

Wide-field image of Messier 7, processed in Photoshop using the color layer method.
The next article describes my preferred method for removing halos in GIMP.

Fixing Halos

This is the first in a short series of articles on dealing with chromatic aberration (CA) in DSLR astroimages. The cause of CA will be discussed here, along with a general overview of how to fix it. Other posts in the series will describe image processing techniques in detail.

Chromatic aberration has been a bane of astronomers ever since Galileo pointed his homemade refracting telescope toward the heavens over 400 years ago. Put simply, CA is caused by a phenomenon called "dispersion," which is the effect of different wavelengths (colors) of light traveling at different speeds through a lens. Each wavelength comes to focus at a different point. This blurs images and produces red, blue and purple halos around bright stars in astroimages.

Most achromatic refractors are intended for visual use, and typically show little or no CA to the naked eye. In long exposure astroimages, however, the effect can be quite severe. So, unless you have the money to shell out for a more expensive telescope that corrects for this problem at the optical level, you will have to mitigate the effects of CA in post-processing.

Note that I wrote "mitigate." There is really no way to completely remove halos without destroying parts of the image.

To further illustrate the problem, examine the following set of images taken with my Canon EOS Rebel T3 on the Orion ShortTube 80. Focus was achieved using a Bahtinov mask. The first is a color image of the central region of Messier 7. The images that follow are the red, green and blue color channels for that image.
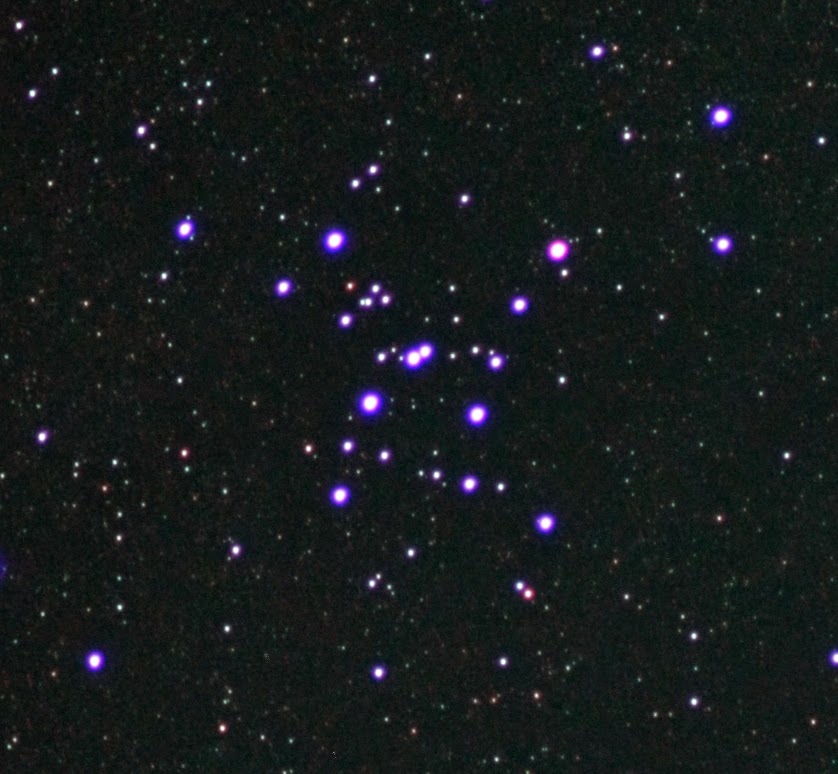
Messier 7, full-color.
Red Channel
Green Channel
Blue Channel.

Note how the stars look fuzzy and bloated in the red and blue channel images, but sharp and in focus in the green channel image. The center of focus in an achromatic refractor is in the green part of the spectrum, so both red and blue are slightly out of focus when the image from the camera is in focus. Since the focus of each of the three colors is significantly different, the stars do not line up perfectly when the channels are combined. This results in the halos.

But the halos are not the only problem that results from CA. Another problem is loss of image data caused by bloated stars overlapping or overwhelming other dimmer stars or features. In addition, the color image as a whole appears slightly out of focus, which further obscures detail.

So, what do we do to fix it?

The short answer is: nothing. This is the result of the physics of optics, and you can't go against nature.

The long answer is that there are some things that can help reduce the effect or at least mask it.

Shooting with filters helps. Typically, I use a light pollution filter to remove the effects of the mercury and sodium vapor lamps from the nearby towns. This reduces CA slightly by filtering out some of the blue and violet light, but not enough to be considered a solution to the problem, in my opinion.

As I mentioned in the post on the July 2014 Moon/Saturn conjunction, a #15 yellow filter helps to filter out some of the violet and red color. The two images below demonstrate the effect of the yellow filter. Each is a magnified view of the same star in Messier 7, color-corrected in GIMP. The first was taken with a regular light pollution filter, and the second with a yellow filter. Note that the halo in the first picture faintly extends to the edges of the image, but does not in the second.

(The brightness of your monitor may need to be adjusted to see all of the details.)
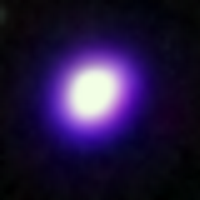
Star with Light Pollution Filter
Star with #15 Yellow Filter
Here are comparison images of Messier 7. The image made with the yellow filter yielded a little more detail as it did not filter out as many of the fainter stars.
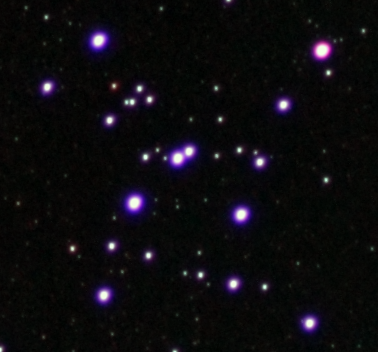
Messier 7 with Light Pollution Filter 

Messier 7 with #15 Yellow Filter
The filter helped, but it did not eliminate the halos. The next article describes a technique for reducing the color fringing using Photoshop or GIMP.